 back to all news
Propagating Veggies from Kitchen Scraps
After this seemingly endless winter, we've finally made it to spring. I, for one, have been eagerly anticipating the sunshine and warm temperatures, as well as the chance to hone my gardening skills. With that in mind, some of my School for Environment and Sustainability cohorts and I decided to try our luck at propagating vegetables and herbs from kitchen scraps. There is no shortage of information on how to grow them—a quick Google search yields a ton of results about which vegetables propagate easily with minimal work. Here, we've highlighted our efforts in the hope that you will be inspired to sustainably grow your own veggies. Happy propagating!
 Green Onions
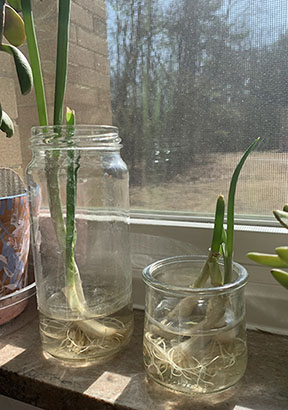
One of the easiest veggies to propagate, green onions can be grown by chopping off the root ends (be sure to leave one to two inches of the stem). Stick the roots in a glass jar on a windowsill, and you should see growth within a few days. "These were the easiest or most straightforward because they already had such established roots, which I think helped," noted one SEAS master's student. "As you can see [photo at left], I should have transferred them from my small container to the taller one earlier on because they started growing a bit sideways. I've cut them, and they've grown back a few times already, which has been great!"
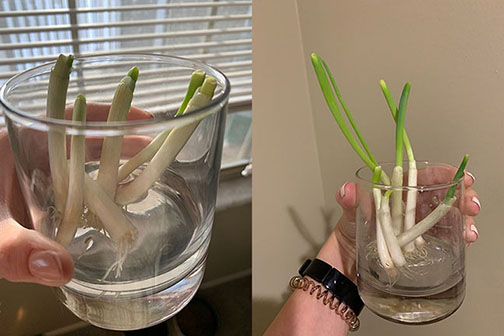
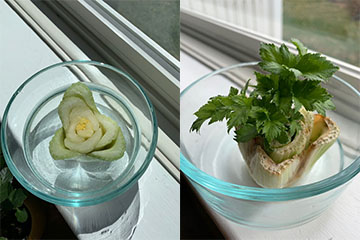
Below, green onion cuttings on day one (left) and day five (right), as grown by a SEAS staff member. You can repot your green onion shoots in a planter or in your outdoor garden when the weather gets warmer.
Celery, Bok Choy, and Romaine Lettuce
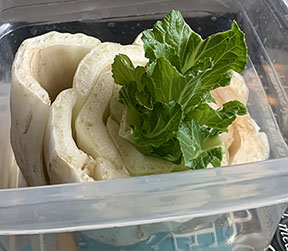 Propagating root veggies such as celery, bok choy, and romaine lettuce is somewhat easy. It involves cutting off the root end or base of the vegetable and placing it in water in a sunny location—the same process as the green onions. I decided to propagate celery (below), while one of our SEAS master's students tried celery and bok choy (right). Another co-worker tried the lettuce. We found that the celery is slow growing; mine has sprouted about an inch or so of leaves, while the student's celery has grown leaves and a few roots. Despite changing the water every day, my celery root is turning brown; I'll probably need to start over with a new cutting, as this one doesn't look so appealing. The student's bok choy—both regular and baby—grew well at first but took a bit longer to establish roots. "Unfortunately, my bok choy attempts ended up wilting and looking really rough," she noted. "I wasn't sure if it was because I didn't change out the water often enough or if they were almost too waterlogged and started rotting." As for the romaine, if you watch the video below, you'll see that my co-worker was able to grow enough romaine leaves to make a small salad, which took about a week's time to sprout. Once you've established roots, you can plant your celery, bok choy, and romaine cuttings in soil (either in an indoor planter or outdoors).
(Disclaimer: If you have pets, it's a sure bet you’ll experience some mishaps along the way. More than once, I had to shoo my black cat away from the dish I'm using to grow celery (she thought it was a water dish), while another co-worker's pug ate his first romaine stem within an hour of placing it in water. His second attempt, captured in the video, obviously was more successful!)
Basil
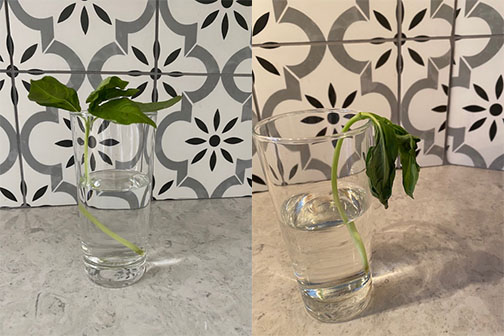
This little cutting started out well for my co-worker when she put it in water on day one. But after several days, it wilted and never recovered. If you want to try growing basil yourself, take a four- or six-inch cutting below a leaf node. Be sure the cutting isn't flowering. Place it in water in a sunny location until roots start to grow. When they've reached approximately two inches, repot the cutting in soil.
Tomatoes
Taco Tuesday prompted another co-worker to propagate tomatoes using seeds, which involves more time and care than the other veggies we tried. She removed the seeds from tomatoes-on-the-vine and placed them on a piece of newspaper. (You could also use paper towels but she chose newspaper to be more sustainable.) To do this, gently scrape or rinse the gooey layer from around the seed. If left on, it will keep the seeds from sprouting.
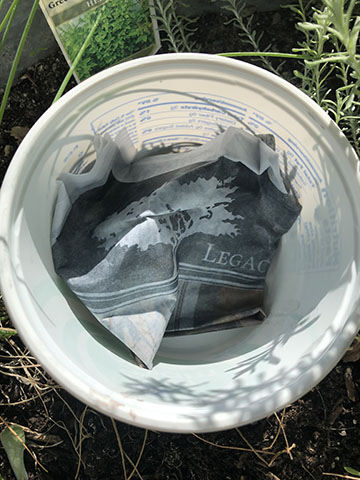
Gently fold up the seeds inside the newspaper and dampen it slightly (below). Place the damp, folded-up newspaper in a container with a lid (she reused a sour cream container) or a Ziploc bag, close it up, and place it in a sunny spot for a few days. Check often to make sure the newspaper stays moist so the seeds can begin to sprout.
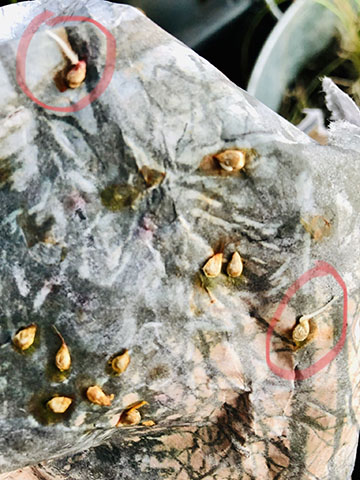
After three to five days, you'll notice the seeds starting to sprout (below). Now you are ready to plant them. You can use almost any small container, cup, or pot you have on hand (she reused baby food jars). Gently plant each sprouted seed in the container with the sprouted side pointing down. "Don't plant too deep; just gently press it down into the soil to make sure it can take root," she advised. Gently water or mist just so the top of the soil stays moist. Place in a sunny spot and water regularly to keep the top layer of soil moist. "I used a spray bottle and sprayed mine every morning," she said.
After about a week the seeds will look like the photo below. "I planted multiple seeds in each container, and once they start to sprout like this, each little plant needs a container of its own," she noted. "I split them up gently with a spoon and planted each in its own baby jar. Pick your strongest plants and plant those; you can remove the 'weak' ones."
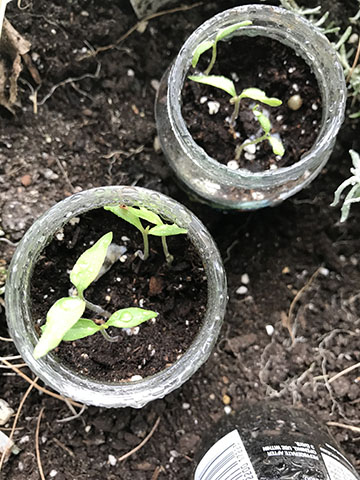
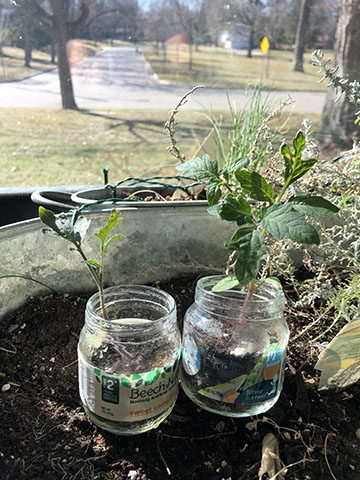
Below is what they look like now after a month and a half of growing. My co-worker started with five plants, but lost two because they got too much sunlight. "Plant extra just in case that happens," she suggested. "I ended up with a few very strong plants that are now ready to transfer into larger pots for the rest of the cold season. I'll plant them outside when temperatures are warm enough."
